The short version: brush the grit off while the boot is dry, wash with water and a mild soap rather than a solvent, dry it slowly away from heat with the boot open and the insole out, and only then treat it — conditioner on leather, a spray-on or wash-in water repellent on a microfiber or membrane boot. Heat is what actually kills riding boots. A radiator, a heat gun or a wood stove shrinks and cracks leather, stresses the adhesives holding a sole and an ankle cup in place, and can cook a membrane that was perfectly good when you parked.
Boots get the worst treatment of anything you own and the least attention. They live in road salt, brake dust, chain fling and standing water, they are the last thing taken off and the first thing forgotten, and most people do not look at them again until a sole separates or the leather splits across the flex point above the toe. A riding boot is also protective equipment: the structure doing the work — the molded ankle protector, the shin plate, the anti-twist midsole — is bonded to a leather or microfiber upper and a glued sole, and both of those degrade with neglect in ways you cannot see from the outside.
This guide is organized the only way that works: by what the boot is made of. Nearly every care mistake comes from treating one construction like another — waxing a microfiber boot, soaking a membrane boot, or putting a leather boot somewhere warm to dry.
Step 1: Clean it dry, then clean it wet
Let mud dry and brush it off with a stiff brush before any water goes near the boot. Wet mud ground into a leather grain or a microfiber nap takes the finish with it. Then wipe the boot down with lukewarm water and a little mild soap on a cloth, working around the welt and the seams where grit collects, and pull the insoles out to wash separately. What not to use: solvent-based cleaners, saddle soap on microfiber, degreaser anywhere near a membrane, and a pressure washer on anything at all — it drives water straight through seams that were designed to shed it.
Step 2: Dry it slowly, with the boot open
This is the step that decides how long the boot lasts. Unbuckle everything, open the boot as wide as it goes, pull the insole, and stuff the inside loosely with newspaper or use a boot dryer that moves ambient air. Leave it somewhere ventilated and cool for a day or two. No radiators, no hairdryers, no heat guns, no campfires, no hot driveway in direct sun. Heat pulls moisture out of leather fibers faster than the leather can cope with, which is what produces the hard, cracked flex line across the toe, and it is hard on the adhesives holding the sole and the ankle structure together. On a membrane boot, the fastest safe dry is forced ambient air, not warm air.
Step 3: Treat it according to what it is
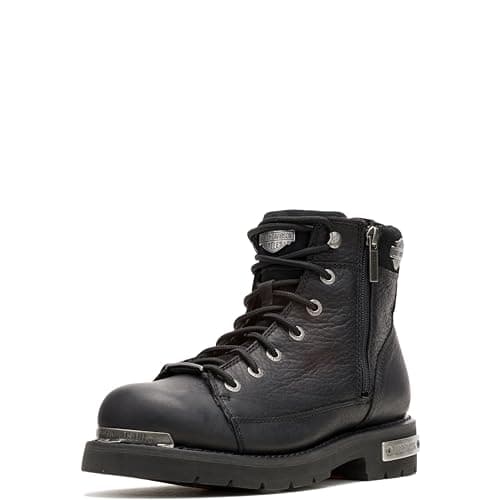
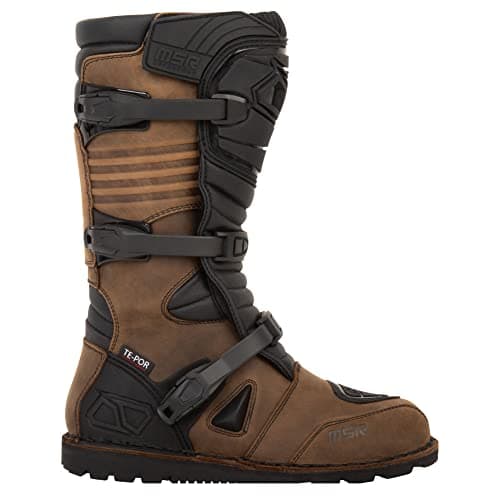
Full-grain leather. The MSR Adventure below is a full-grain leather upper over a Te-Por membrane, and our cruiser pick is full-grain too. Leather wants a thin coat of conditioner once the boot is completely dry, worked into the flex areas and the seams. Thick wax dressings waterproof well, darken the leather and clog perforations, so keep them off anything vented. Condition when the leather looks dull and feels dry, not on a schedule.
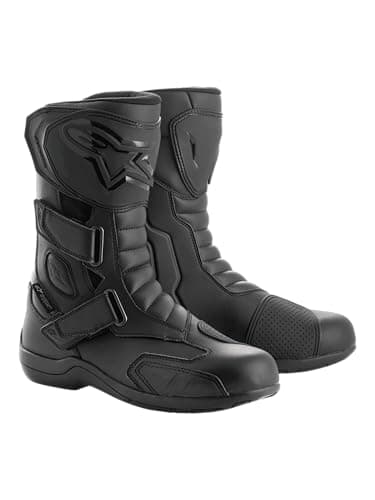
Microfiber and synthetic uppers.The Alpinestars Radon Drystar is a microfiber boot. Microfiber does not absorb conditioner and does not need it — soap, water and a soft brush is the whole routine. A spray-on durable water repellent restores the beading on the outer face when water stops rolling off.
Membrane boots. A Drystar, Gore-Tex or Te-Por boot keeps water out with a laminated membrane under the upper, and a membrane far more often gets blocked by dirt or defeated by a saturated outer face than it actually fails. If a membrane boot starts feeling damp inside, wash it and re-treat the outer before you condemn it: a wetted-out outer conducts water and feels exactly like a leak. Our waterproofing guide covers wash-in and spray-on treatment in detail, and the same logic applies to boots.
Step 4: Store them so they keep their shape
Store boots upright and loosely buckled, somewhere dry and out of sunlight, with the insoles back in once everything is dry. A tall boot folded over in a cupboard creases across the shaft, and that crease becomes a wear line and then a split. UV is the other quiet killer: a boot left on a sunny windowsill fades and its plastics go brittle. If you are putting gear away for a season, our when-to-replace guide covers the inspection worth doing before anything goes in a box.
What care cannot fix
Care extends a boot's life; it does not reset it. Replace a riding boot when the sole has separated from the upper, when the leather has cracked through rather than surface-crazed, when a molded ankle protector or shin plate is split or detached, or when the tread is worn smooth enough to slip putting a foot down. A boot that has been through a real crash gets retired on the same logic as a helmet: the structure did its job once and you cannot see what that cost it. Our when-to-replace guide puts every piece of gear through the same test.